
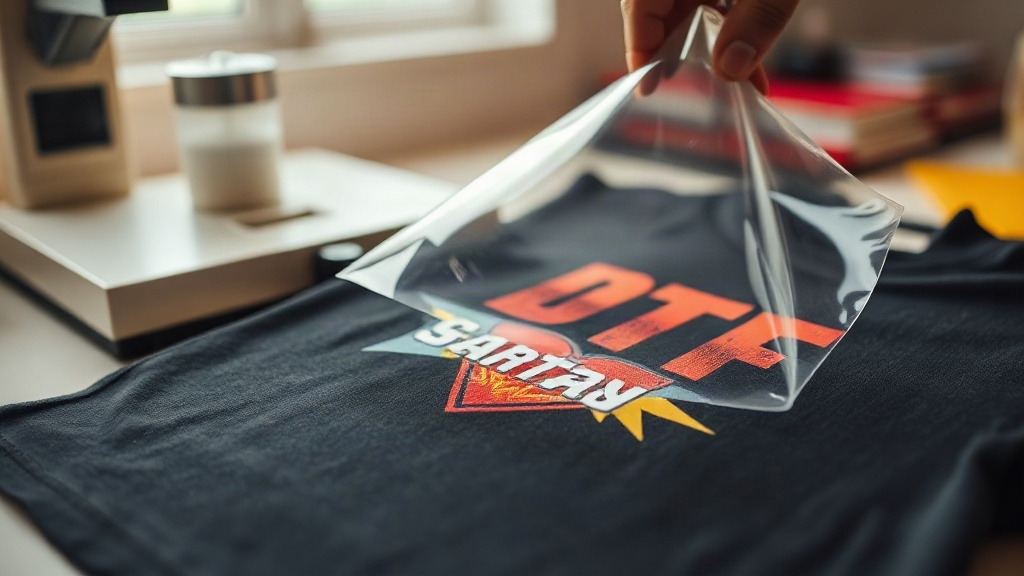
If you've ever admired a custom t-shirt with intricate, full-color artwork that seems to melt into the fabric, chances are it was created using DTF transfer printing. Unlike traditional screen printing or vinyl cutting, DTF (Direct to Film) allows you to produce vibrant, detailed designs on demand without the hassle of weeding or color limitations. Whether you're a hobbyist looking to personalize gifts or a small business owner aiming to expand your product line, mastering DTF printing can open up a world of creative possibilities.
What Exactly Is DTF Printing?
DTF printing is a digital printing method where your design is printed onto a special PET film using water-based pigments. A thermoplastic powder adhesive is then applied to the wet ink, and after curing, the transfer is ready to be heat-pressed onto fabric. The magic lies in the adhesive: it bonds the ink to the material, creating a durable, stretchable print that feels soft to the touch. Because the design is printed on film first, you can apply it to a wide range of fabrics, including cotton, polyester, blends, and even some nylons, without the need for pre-treatment.
Why Choose DTF Over Other Printing Methods?
If you're familiar with DTG (Direct to Garment) or sublimation, you might wonder why DTF has become so popular. Here are a few compelling reasons:
- No color restrictions: Unlike screen printing, which requires a separate screen for each color, DTF can reproduce full-color photographs, gradients, and fine details in a single pass.
- Fabric versatility: You can print on dark and light garments, cotton, polyester, and blends without changing your process.
- Durability: When applied correctly, DTF transfers withstand repeated washing without cracking or fading.
- Cost-effective for small batches: There's no minimum order quantity, making it ideal for one-off custom items or limited runs.
Essential Supplies for DTF Printing
Before you dive in, gather the right tools. Here's what you'll need:
- DTF printer: A dedicated printer with DTF ink or a converted EcoTank printer. Ensure it uses pigment inks designed for DTF.
- PET film: Available in sheets or rolls, both cold and hot peel. Cold peel is more forgiving for beginners.
- DTF powder: Thermoplastic adhesive powder, typically TPU-based. Fine, medium, and coarse grades exist; medium is a good all-rounder.
- Heat press: A reliable press with accurate temperature and pressure control. A clamshell or swing-away press works well.
- Curing oven or heat gun: To melt the powder evenly. A dedicated curing oven is ideal, but a heat gun can work with practice.
- Protective paper or Teflon sheet: To cover the transfer during pressing.
Step-by-Step DTF Printing Process
1. Design Preparation
Start with a high-resolution image (300 DPI recommended). Mirror the design horizontally because the film will be flipped when pressed. If your design has white areas, ensure your printer is set to print a white underbase; this is crucial for vibrant colors on dark fabrics.
2. Printing onto Film
Load the PET film into your printer, ensuring the correct side (usually the matte side) faces the print head. Use the printer's software to set the ink density and white layer settings. After printing, the film will have a wet, colorful image.
3. Applying Powder
While the ink is still wet, sprinkle DTF powder generously over the design. Shake off the excess; you want an even, thin layer covering all the ink. A powder shaker can help distribute it uniformly. Tap the film gently to remove clumps.
4. Curing the Powder
Place the film in a curing oven at around 160°C (320°F) for 2-3 minutes, or until the powder melts and becomes glossy. If using a heat gun, move it continuously over the powder until it melts; avoid overheating, which can warp the film. The transfer should be dry to the touch and have a slightly raised, rubbery texture.
5. Heat Pressing onto Fabric
Preheat your heat press to 160-165°C (320-330°F) with medium pressure. Place the garment on the lower platen, then position the transfer with the design facing up. Cover with protective paper and press for 10-15 seconds. For cold peel, wait until the film cools completely before peeling; for hot peel, remove immediately. Cold peel generally yields a smoother finish.
Common DTF Problems and How to Fix Them
Even seasoned printers encounter issues. Here are solutions to frequent DTF headaches:
- Ink smudging: Reduce ink density or check that the film is loaded correctly. Too much ink can cause bleeding.
- Powder not sticking: Ensure the ink is wet enough; if it's too dry, the powder won't adhere. Adjust your printer's settings or work faster.
- Cracking after wash: This usually means insufficient powder or under-curing. Increase powder coverage and cure longer.
- Transfer peeling off: Not enough pressure or time during heat pressing. Increase pressure and extend press time by a few seconds.
- Dull colors: Missing white underbase or wrong ink type. Always use DTF-specific inks and include a white layer.
Pro Tips for Stunning DTF Transfers
After countless trials, I've picked up a few tricks that make a noticeable difference. First, always do a test press on a scrap fabric to dial in your settings. Second, store unused transfers in a cool, dry place; humidity can ruin the powder. Third, when pressing onto stretchy fabrics, use a stretchable DTF powder or add a second press cycle with light pressure to improve elasticity. Finally, invest in a good quality heat press; inconsistent pressure is the enemy of durable prints.
Frequently Asked Questions About DTF Printing
Can I use DTF transfers on dark shirts without a white underbase?
No, a white underbase is essential for dark fabrics. Without it, the colors will appear muted or invisible. Your printer should automatically print a white layer if you enable it in the settings.
How long do DTF prints last?
With proper application and care, DTF prints can last 50+ washes. Wash garments inside out in cold water and avoid harsh detergents or bleach. Tumble dry on low or hang dry.
Do I need a special printer for DTF?
You can convert a standard inkjet printer (like an Epson EcoTank) to use DTF inks, but dedicated DTF printers are more reliable. They have white ink channels and are designed for the viscosity of DTF inks.
What's the difference between hot peel and cold peel DTF film?
Hot peel film allows you to remove the carrier sheet immediately after pressing while the transfer is still hot, which is faster but can leave a slightly textured finish. Cold peel requires waiting until the transfer cools, resulting in a smoother, more matte appearance. Cold peel is generally preferred for detailed designs.
Can I layer DTF transfers?
Yes, you can layer multiple transfers, but press each one separately and ensure the previous layer is cool before adding the next. Use a lower temperature for subsequent presses to avoid disturbing the underlying print.
With a bit of practice, DTF printing can become your go-to method for creating custom apparel that looks professional and stands the test of time. Remember to experiment with different fabrics and settings to find what works best for your setup. Happy printing!