
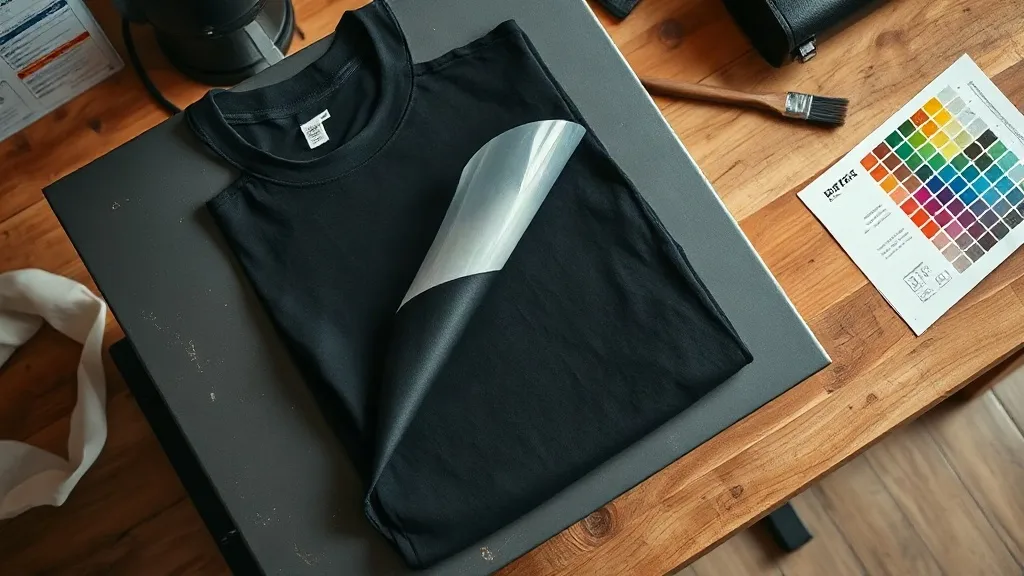
You press a shirt, peel the film back, and the design comes apart in your hands. Or the colors look washed out. Or there is a faint shadow of the artwork baked into the fabric. Every press operator who has run dtf transfers long enough has hit at least one of these moments, and the instinct is usually to blame the film or the supplier. Most of the time, though, the cause sits somewhere in the process: moisture, pressure, temperature, or timing. This guide walks through the nine most common dtf problems one by one, with the specific fix for each.
Start With the Variables You Can Actually Control
Before digging into individual failures, it helps to understand what a DTF transfer actually is. A design is printed onto a PET film in mirror image, dusted with hot-melt adhesive powder, and cured. When you press it, the adhesive melts into the fabric fibers while the ink layer sits on top. That means every failure traces back to one of four things: the film was not cured properly, the fabric was not ready, the press settings were wrong, or the peel happened at the wrong moment.
Write down your press temperature, pressure, and dwell time for every job. When something goes wrong, you want a record to compare against, not a guess. Shops that keep a simple press log solve problems in minutes instead of wasting a dozen garments testing theories.
Problem 1: The Transfer Peels at the Edges
This is the most reported issue, and it almost always comes down to uneven pressure or a cool corner of the platen.
What to check
- Press pressure: too light and the adhesive never fully engages with the weave.
- Platen level: a press that is not level will press harder on one side.
- Fabric seams, zippers, and thick hems: these create high spots that lift the film.
- Dwell time: short presses leave the adhesive under-activated.
Run a pressure test with a piece of plain paper on the platen. If the paper pulls away with an even, uniform imprint across its surface, your press is level. If one side is faint, adjust until it is not. For garments with seams, use a pressing pillow underneath so the surface stays flat.
Problem 2: Patchy, Uneven Color
Blotchy color after pressing usually points to moisture in the fabric. Cotton holds ambient humidity, and when the press hits it, that moisture turns to steam and pushes through the ink layer, leaving pale spots. Pre-pressing the garment for five to ten seconds before you lay the film down drives that moisture out and gives you a flat, dry surface to work with.
If pre-pressing does not solve it, check whether the film itself was stored in a humid room. Powder that has absorbed moisture will not melt evenly, and the result looks exactly like a press problem.
Problem 3: Ghosting or a Faint Outline Around the Design
Ghosting is that hazy halo you see around the edges of a print, and it happens for two reasons. The first is movement: if the film shifts even slightly during the press, ink transfers where it should not. The second is double-pressing, where a garment gets pressed once, repositioned, and pressed again.
To fix it, tack the film down with a small piece of heat-resistant tape before closing the press, and never re-press the same area without a protective sheet. If you are pressing on a platen that has residue from previous jobs, clean it. Old adhesive on the platen will transfer onto the next garment and look like ghosting.
Problem 4: The Design Feels Stiff or Plasticky
A heavy hand feel is rarely a defect. It is usually a sign that the ink layer is too thick for the design, or that the powder coat was applied too generously. Large solid blocks of color will always feel different from fine line work, and no amount of pressing will change that.
Where you can control it, reduce the ink density in the artwork before printing. Fine detail and halftones press down thinner and drape better. If a customer insists on a big solid block, set expectations up front rather than promising a soft feel you cannot deliver.
Problem 5: Cracking After Washing
Cracking is the slow failure that shows up weeks later, and it is almost always an adhesion problem rather than an ink problem. The transfer did not bond deeply enough into the fibers, so the ink layer sits on the surface and splits as the fabric flexes.
Three things help here. First, make sure the fabric is completely dry before pressing. Second, give the adhesive enough time at temperature to melt into the weave rather than just tacking to the top. Third, check your peel timing against the film manufacturer's instructions. Cold peel and hot peel films behave differently, and using the wrong method leaves adhesive on the carrier sheet instead of on the shirt.
Problem 6: The Film Will Not Release Cleanly
If the carrier sheet tears the design or drags threads with it, the peel is happening at the wrong temperature. Hot peel films want to come off while the press is still warm. Cold peel films need to cool completely, and rushing them pulls half the design away.
Let the garment rest on a flat surface, not hanging, while it cools. Hanging a warm garment lets gravity stretch the fabric and the print with it.
Problem 7: Colors Look Dull Compared to the Screen
What you see on a backlit monitor will never match what lands on fabric, and that gap catches a lot of new operators off guard. Fabric absorbs ink differently than paper, and dark garments shift colors more than light ones.
Print a small test swatch on the actual garment color before committing to a full run. Keep a physical color reference for your most common shirt colors. Two minutes of testing saves an entire order.
Problem 8: Adhesive Residue Left on the Shirt
A shiny, slightly tacky patch around the design is leftover powder that melted outside the ink area. It happens when powder is applied too heavily or when the excess is not shaken off before curing.
Shake the film gently after powdering, and brush off loose powder with a soft brush before it goes into the oven. Once cured onto a garment, residue is difficult to remove without damaging the print, so prevention is the only real fix.
Problem 9: Finding Reliable Transfers in the First Place
Sometimes the process is flawless and the print still disappoints, because the film itself was inconsistent. If you are searching for dtf transfers near me and cycling through suppliers, pay attention to consistency between batches rather than one impressive sample. Ask how the film is stored, whether powder application is automated, and what the shelf life is. A supplier who cannot answer those questions is a supplier who will eventually send you a roll that behaves differently from the last one.
Store your own film flat, away from heat and humidity, and use it within the recommended window. Film that sits in a hot garage for a summer will not perform like fresh stock, and no press setting will rescue it.
Frequently Asked Questions
Why does my DTF transfer peel off after the first wash?
In most cases the adhesive did not melt fully into the fabric. Increase dwell time slightly, confirm the fabric was dry before pressing, and check that you are following the correct hot or cold peel method for your film. Washing the garment inside out in cold water also extends the life of any print.
Can I press DTF transfers onto polyester and blends?
Yes, and many operators prefer blends because they hold the print well. The main caution is heat sensitivity: polyester can scorch or glaze at high temperatures, so lower the press temperature and extend the time instead of pushing heat. Always test on a scrap piece of the same fabric first.
How long should I pre-press a garment before applying the transfer?
Five to ten seconds is usually enough to drive off surface moisture on cotton. Heavy or damp garments may need a second pass. The goal is a dry, flat, warm surface, not a scorched one.
What causes a transfer to look faded right after pressing?
Faded results usually mean moisture pushed through the ink layer during pressing, or the press temperature was too low to fully activate the adhesive. Pre-press the garment, verify your temperature with an infrared thermometer rather than trusting the dial, and press again on a test piece to confirm before running the full order.
Do DTF transfers work on dark shirts?
They do, and this is one of the format's real advantages. The white ink layer underneath the color provides opacity, so designs stay vivid on black and navy garments. Just be aware that dark fabrics absorb more heat, so you may need a slightly longer press to get the same adhesion.
Building a Process That Prevents Problems
None of these fixes are complicated on their own, but they add up to a workflow. Pre-press every garment. Log your settings. Test on the actual fabric. Peel according to the film's instructions rather than habit. Do those four things and most of the problems in this guide simply stop appearing, which is a far better outcome than becoming an expert at rescuing ruined shirts.